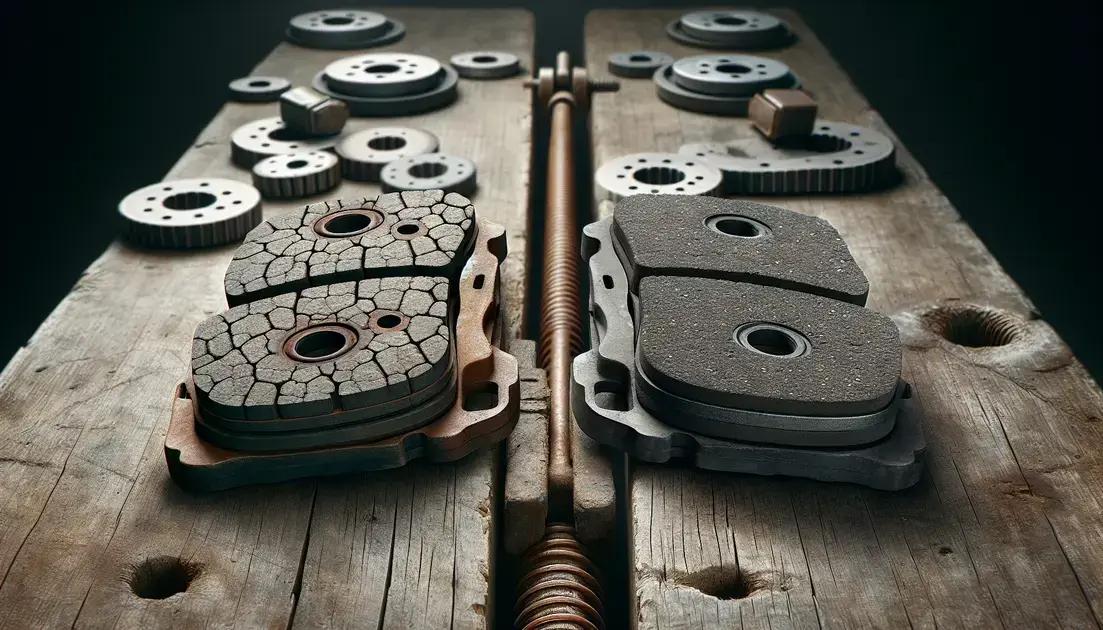
To fix brake pads, gather necessary tools, remove the wheel, and follow a step-by-step process to replace worn pads, ensuring proper installation for safe vehicle operation.
How to fix brake pads is a crucial skill for any vehicle owner. Have you ever wondered if you could tackle this task yourself? Let’s dive into the details and explore how straightforward it can be.
Table of Contents
ToggleUnderstanding when to replace brake pads

Understanding when to replace brake pads is crucial for maintaining your vehicle’s safety. Generally, brake pads should be replaced every 20,000 to 70,000 miles, depending on driving habits and conditions.
Signs Your Brake Pads Need Replacement
- Squeaking or squealing sounds: This often indicates your brake pads are worn and may need replacing.
- Pulling to one side: If your vehicle pulls to one side while braking, this can mean uneven wear on your brake pads.
- Vibration or pulsation: Feeling vibrations in the brake pedal can signify that your brake pads are worn out or damaged.
- Warning light: Pay attention to dashboard warning lights that indicate brake system issues.
It’s essential to regularly inspect your brake pads as part of routine vehicle maintenance. Proper checks can prevent costly repairs and improve your safety on the road.
Step-by-step guide to fixing brake pads

A step-by-step guide to fixing brake pads can help you perform this task safely and effectively. Here is an easy-to-follow process:
Tools and Materials Needed
- Jack and jack stands
- Socket wrench set
- Brake cleaner
- New brake pads
- Brake grease
Step 1: Prepare Your Vehicle
Park your car on a level surface and engage the parking brake. Place wheel chocks behind the rear wheels to prevent rolling. Then, using the jack, lift the front of the vehicle and secure it with jack stands.
Step 2: Remove the Wheel
Use a socket wrench to remove the lug nuts from the wheel. Take off the wheel to expose the brake assembly.
Step 3: Remove the Old Brake Pads
Locate the brake caliper, which holds the brake pads in place. Use the socket wrench to remove the bolts securing the caliper. Carefully slide the caliper off and set it aside without putting stress on the brake line. Now, take out the worn brake pads from the caliper bracket.
Step 4: Install the New Brake Pads
Before installing new brake pads, apply brake grease to the backing of the pads to reduce noise. Slide the new brake pads into the caliper bracket. Ensure they fit snugly.
Step 5: Reattach the Brake Caliper
Position the caliper back over the new pads. Secure it with the bolts you removed earlier, tightening them appropriately.
Step 6: Reinstall the Wheel
Place the wheel back onto the hub and hand-tighten the lug nuts. Lower the vehicle back to the ground, then use the socket wrench to tighten the lug nuts in a crisscross pattern for even distribution.
Step 7: Test Your Brakes
Before driving, ensure everything is secure. Pump the brake pedal a few times to seat the new pads properly. Conduct a test drive to make sure the brakes are functioning smoothly.
In conclusion, understanding brake pad maintenance is essential for safety
Knowing when and how to replace your brake pads can save you money and keep your vehicle running smoothly. By following the step-by-step guide, you can perform this task yourself and ensure your brakes are in top condition.
Regularly checking your brake pads can prevent accidents and prolong the life of your vehicle. Always prioritize safety and don’t hesitate to consult a professional if you’re unsure.
Now that you have the knowledge, you can confidently maintain your car’s braking system.
FAQ – Frequently Asked Questions about Fixing Brake Pads
How often should I check my brake pads?
You should check your brake pads regularly, ideally every 10,000 miles or during routine maintenance to ensure they are in good condition.
What are the signs that my brake pads need to be replaced?
Look out for squeaking noises, pulling to one side, vibrations in the brake pedal, and the warning light on your dashboard.
Can I replace brake pads myself?
Yes, you can replace brake pads yourself if you have the right tools and follow a step-by-step guide carefully.
What tools do I need to fix brake pads?
You will need a jack, jack stands, a socket wrench set, brake cleaner, new brake pads, and brake grease.
Why is it important to apply brake grease?
Applying brake grease helps to reduce noise and ensures that the brake pads move smoothly against the caliper.
What should I do if I’m not comfortable changing my brake pads?
If you’re not comfortable changing your brake pads, it’s best to seek help from a professional mechanic to ensure your safety.


